Howto - Owncast
Last Updated: Fri Aug 04 2023
Welcome to the first of what I hope will be a series of HowTos
What is it?
Owncast is an Open Source (MIT Licensed) self contained streaming platform that you can install and run yourself. It’s designed to be easy to install and customise.
What you need?
Basically the only requirement you have is a place to launch the service. It will work fine in virtual environments (though lack of direct hardware access is going to make things a little slower rendering wise).
I’ve used my linode setup to play around with it. It’s a very basic setup, 1 CPU Core with 2GB of RAM, so it’s not going to be able to support a lot. As with all things video, the more hardware you throw at it, the better result you’re going to get.
Installation
Installing Owncast is actually pretty simple. You have a number of options, from a command line installer, a docker image or a manual install. Some hosting providers also offer “apps” that you can install (basically pre-built images that get deployed to the hosting providers infrastructure).
For the purposes of this walk through I’m going to be using the docker option (https://owncast.online/quickstart/container/)
As you can see from the instructions, just getting it up and running is the easy part. Simply pull down the latest version of the Owncast docker image and then run it. If you wanted to get fancy then you could setup a Docker Compose and integrate it into whatever setup you’ve got going.
You should be able to run the following on Mac or Linux without an issue. Haven't tested on Windows.
:$ docker pull owncast/owncast:latest
:$ docker run -v `pwd`/data:/app/data -p 8080:8080 -p 1935:1935 -it owncast/owncast:latest
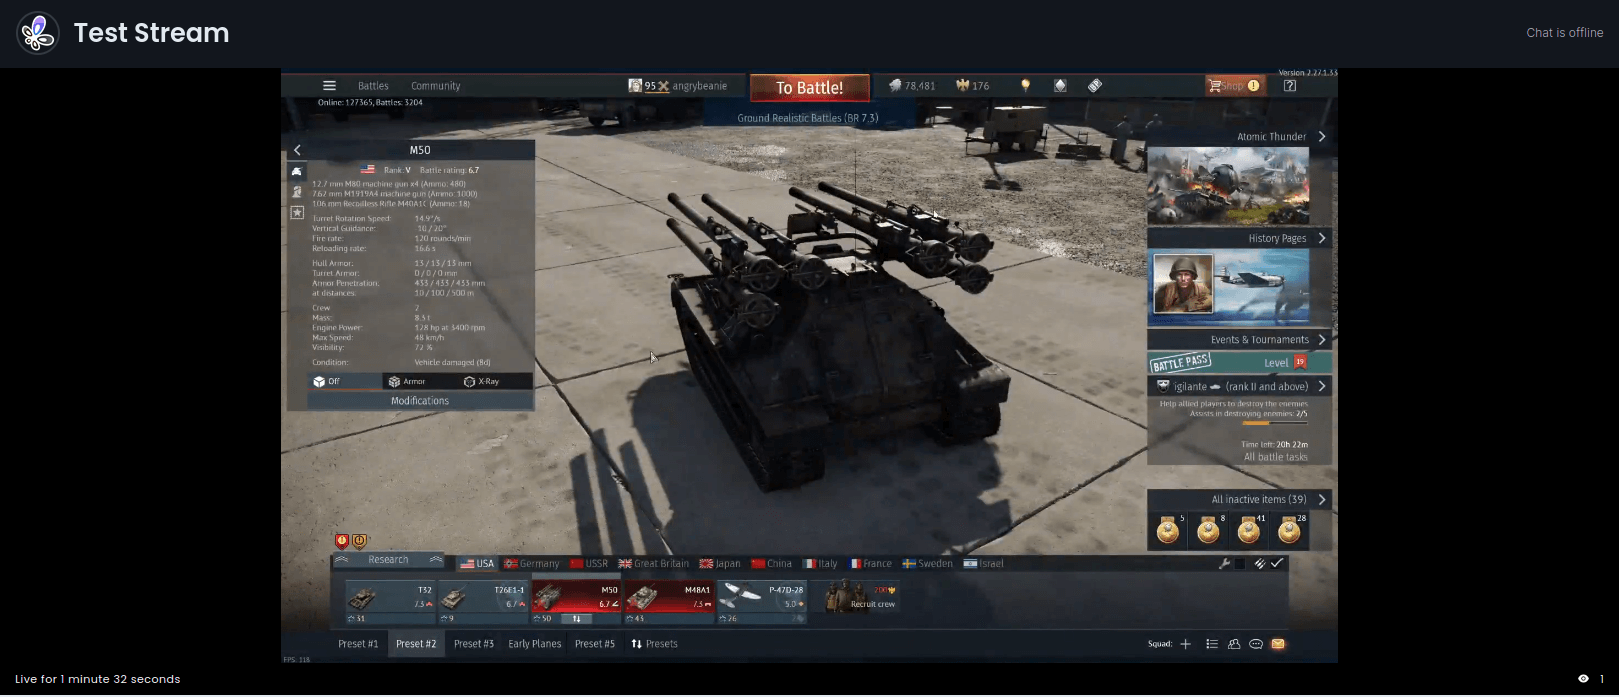
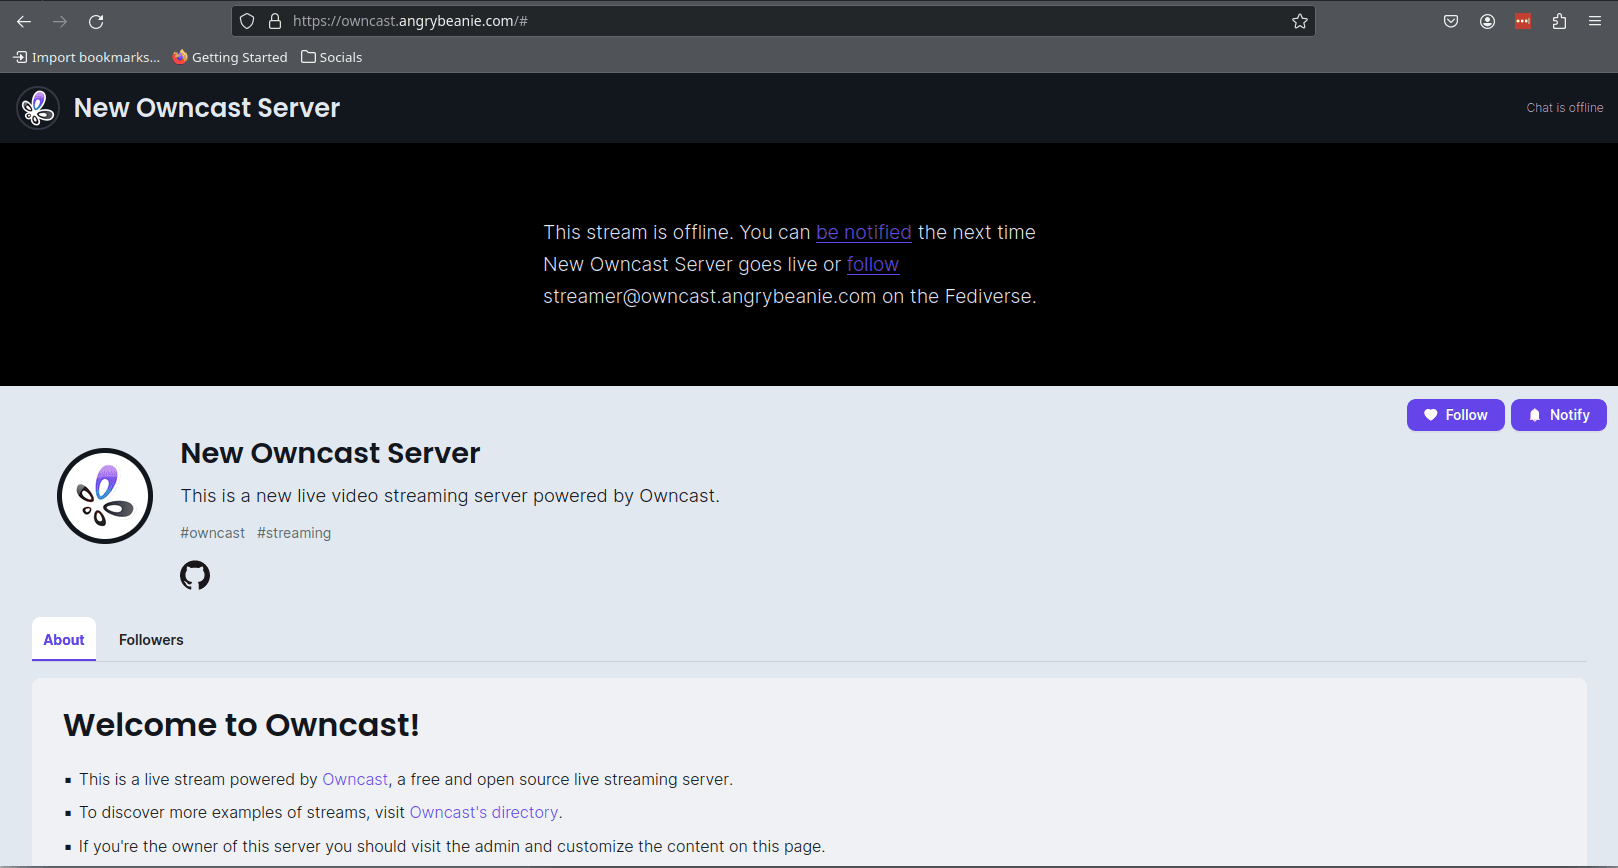
Once this has finished running you should be able browse to your newly running Owncast server at [IPADDRESS]:8080 and see something like below
Getting setup
I’m not going to go to deep on the configuration of Owncast in this howto, rather we’re going to get enough done that you can setup your first stream.
Logging In
The first thing you’re going to need to do is login. Pretty simple, browse to [IPADDRESS]:8080/admin and you’ll see a Basic Authentication form.
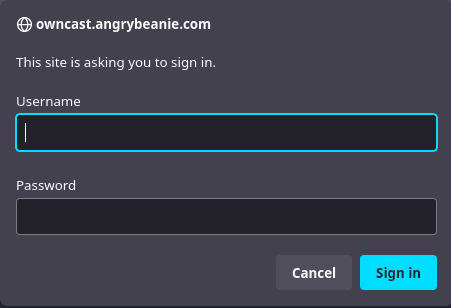
If you’re going to look at using Owncast for longer than just this howto, I would probably change that.
Configuration
We don’t have to do much in the way of configuration to get started with a first stream. Owncast has a set of defaults which you can use, but we’ll have a quick look at them here.
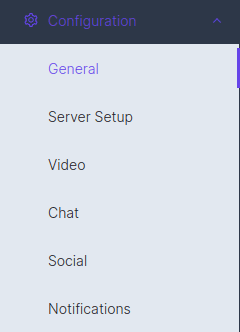
What we’re interested in the above dropdown is the Server Setup and Video options.
Server Setup
The Server Setup screen holds the information and configuration for the engine that drives Owncast.

The Server Config tab is where you would define the Admin password, the ports that the services will be listening on and the path to the FFMPEG software that does all the actual work.
The Stream Keys tab is pretty self explanatory. These are the keys used by the software you’re using to generate the streams to authenticate against Owncast. In a default Owncast setup there is already a key setup, this is the same as the Admin password, however it’s not linked, so you can safely change this without affecting the Admin password.
The last tab, the S3 Object Storage allows us to setup an object storage provider like AWS S3 to host the actual files generated by the renderer. This means that instead of having to serve your video off the same instance that you’re generating it on, you can use the much better bandwidth and storage options available.
Video
The Video configuration page is where we configure how we want to build the actual streams that go out to the users. A default Owncast install comes with a Stream output definition already setup, it’s good enough to play around with.
I’m not going to deep dive on the Video page for this howto, but as I explore more I might do an addendum.
Time for that first stream
Okay, now that we have a working Owncast server it’s time to setup our first stream. For this howto I’m going to be using OBS, however if your streaming software supports RTMP then it should be fine.
To point OBS at your fresh new Owncast server, go to the Stream configuration panel in the OBS Settings. There, select Custom from the Service drop down. Put in the address of your Owncast server (format rtmp://[SERVICE]:1935/live) and fill out the Stream key (if you’ve kept the default one, that will be abc123)
It should look something like this.

Click on Apply and you’re almost ready to go. If you’re working with a limited setup like I am, I would recommend ensuring that the Streaming Output bitrate of your OBS matches the bitrate that Owncast will be streaming. This just means less work for your Owncast server to do when rendering the stream. So for me I’ve got the following setup

Now you’re ready to go. Load up your favourite game and let your friends know.